Our approach: This article is based on published product information and use-case analysis. We have not conducted hands-on testing for this article.
TechGearPilot may earn a commission from qualifying purchases made through links on the site, at no extra cost to you. How our links work.
Weak Wi-Fi is a symptom, not a diagnosis. A poor video call might come from distance, interference, a busy connection, one computer’s software, or the internet service itself. Buying a faster router before distinguishing those causes can leave you with the same problem and less money.
The process below is designed for a normal home network. It uses simple observations and repeatable comparisons rather than requiring specialist equipment. Work through one change at a time, record the result, and stop when the network meets the needs that matter. The purpose is a reliable connection in your daily routine, not the highest possible speed-test number.
Step 1: Define the problem precisely
Write down what fails, where it fails, and when. “My laptop loses a work call in the back bedroom after dinner” is far more useful than “the Wi-Fi is bad.” Check whether the failure affects one application, one device, one room, or everything at once.
| Observation | Next comparison |
|---|---|
| One device struggles everywhere | Try another device in the same location |
| Every device struggles in one room | Compare that room with a spot near the router |
| Everything slows at busy times | Check simultaneous uploads, downloads, and provider status |
| Wired and wireless both fail | Investigate the incoming service and gateway before blaming radio coverage |
Keep the test conditions reasonably consistent. Use the same device and application, note the location, and avoid running several bandwidth-heavy checks at the same time. You are looking for a pattern that guides the next action.
Step 2: Separate the internet connection from Wi-Fi
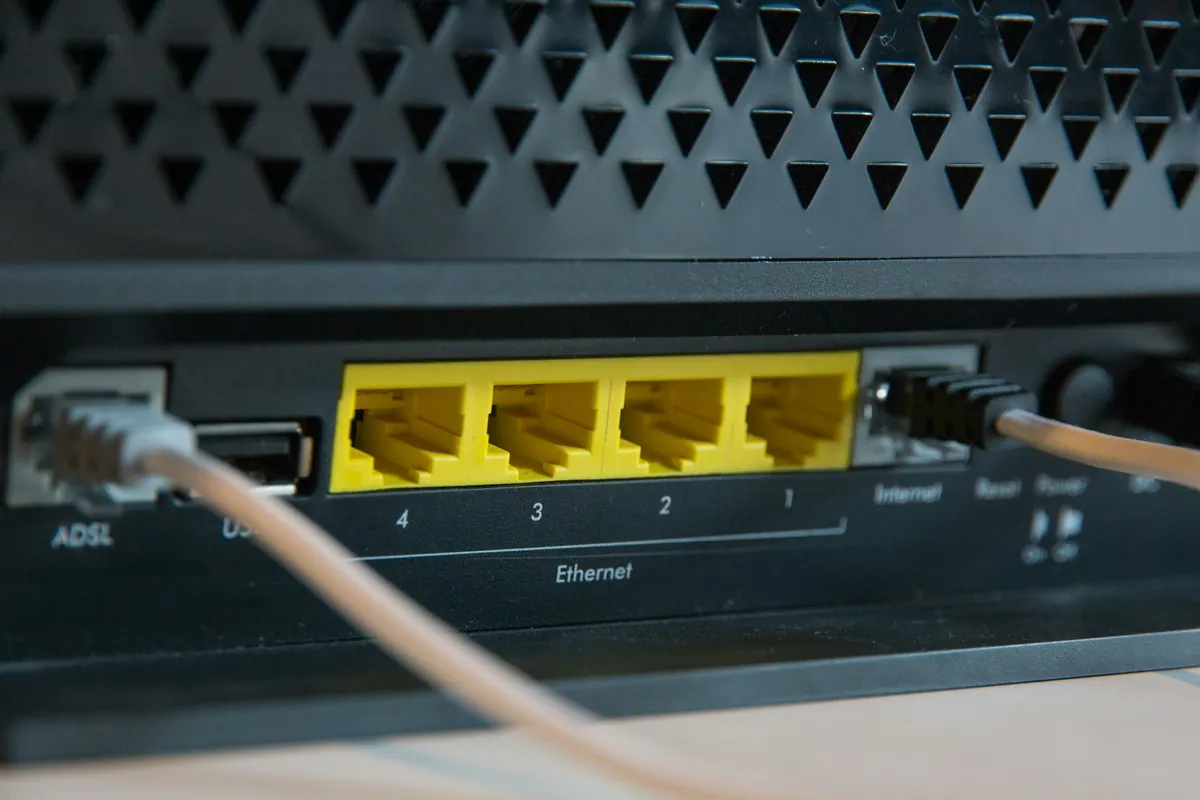
If you have an Ethernet-capable computer, connect it to a LAN port on the router with an appropriate cable. Compare the troublesome task there. This does not make a complete laboratory test, but it helps distinguish a wireless-room problem from a broader network or service problem.
If the wired connection also performs poorly, inspect the provider’s outage information and the gateway’s status indicators. Check whether another household activity is using the connection heavily, particularly uploads during calls. Contact the provider when the evidence points to its service; a new access point will not repair an upstream outage.
If wired works well and wireless does not, continue with placement and device checks. If only one computer fails, inspect its Wi-Fi adapter, operating-system updates, and application settings before changing the entire home network. Keep security software active while diagnosing ordinary connection problems.
Step 3: Improve the router’s position
Place the router openly where its signal has a useful path to the rooms you use. Avoid assuming the cable entry point is the ideal wireless location. A longer Ethernet connection may allow better placement without replacing the router, provided the arrangement follows your provider and equipment requirements.
Look for obvious obstacles: a metal cabinet, a television directly in front of the router, or substantial walls between it and your desk. Move the equipment to an accessible location and repeat the same room checks. eero’s placement guide explains how obstacles and node position affect a distributed network.
Keep ventilation in mind. Do not cover the equipment or enclose it merely to hide cables. Follow the manufacturer’s orientation and temperature instructions. eero’s heat guidance is one example of vendor advice to keep a unit on a suitable surface with space around it.
Step 4: Check software and configuration deliberately
Identify the model, region, and hardware revision before looking for firmware. Download only through the manufacturer’s official process, read the release notes, and keep power connected throughout the update. Some revisions have different files or upgrade limitations; TP-Link’s download guidance illustrates why a model name alone is insufficient.
Record the current network settings before changing them. Automatic channel selection is a reasonable starting point on equipment that supports it. Apple’s router recommendations include automatic channel selection and 20 MHz width on 2.4 GHz, with separate guidance for higher bands. Follow the relevant equipment documentation when your interface differs.
Do not blindly copy an entire “fastest settings” list. A setting chosen for an isolated home may behave differently in an apartment full of neighboring networks. Make one change, repeat the same checks, and keep the previous setting available so you can reverse a regression.
Step 5: Check whether you have two routing layers
If you added a new router behind a provider gateway, establish which device is meant to handle routing. Two routing layers can complicate some applications and access patterns. That does not mean every slow connection is caused by this configuration, but it is worth understanding before adding more hardware.
Use the provider’s documented bridge arrangement or the additional router’s access-point mode when appropriate. Do not disable essential services at random. Record any telephone, television, or authentication requirements supplied by the provider before altering the gateway. Ask its support team when the correct arrangement is unclear.
This step is especially relevant after an upgrade. Replacing hardware while preserving an accidental configuration can preserve the original problem too. A simpler, documented layout is easier to maintain and troubleshoot later.
Step 6: Plan mesh placement and backhaul
If one access point cannot serve the home, additional access points may be useful. A wireless mesh node needs a strong enough connection back to the network before it can extend service effectively. Start between the central router and the problem area, then compare results, instead of putting the node at the farthest point of the dead zone.
Where Ethernet is already available, investigate wired backhaul using the system’s supported topology. This may be a better use of existing infrastructure than purchasing a more expensive wireless bundle. Check model compatibility before mixing nodes, and do not assume different mesh brands form one managed system.
Adding more nodes is not automatically better. Each should solve a placement problem. Keep a simple map of the gateway, nodes, and wired links so that future changes are understandable to everyone maintaining the network.
Step 7: Decide whether new hardware addresses the constraint
Consider replacement when the equipment lacks an acceptable support path, cannot provide the ports your service requires, or cannot support an appropriate coverage layout. Consider additional access points when distance is the main limitation. Consider a wired connection for a stationary work or gaming device before making a more elaborate wireless investment.
The router buying guide groups candidates by those needs. The Wi-Fi 6 versus Wi-Fi 7 comparison explains why a generation upgrade is useful in some networks and barely noticeable in others. If you own or are considering an AX55, use the revision-specific review to check the software situation.
Set a complete budget: cables, a switch if needed, and node placement may matter as much as the main router. A modest network designed around the floor plan can be more useful than an expensive router left in an inconvenient corner.
Common mistakes and tradeoffs
Avoid moving the goalposts during diagnosis. Changing the router, device, application, and room simultaneously makes results difficult to interpret. Avoid purchasing based on an aggregate speed class that your devices cannot use. And do not assume a Wi-Fi icon with many bars proves that the internet service behind it is healthy.
Each solution has a cost. Ethernet adds cabling but can suit stationary devices. Mesh improves placement flexibility but adds equipment and management. A newer router may add useful ports but cannot guarantee coverage through every wall. Choose the tradeoff that addresses your observed problem.
Frequently asked questions
Should I restart the router every day?
A restart can clear a temporary problem, but frequent required restarts deserve investigation. Record the symptoms, firmware version, and timing, then consult the manufacturer or provider. A scheduled restart should not hide an unresolved fault.
Should I rename every wireless band?
Do not change naming solely because it appears in a generic optimization list. Follow your equipment and client guidance. Temporary band-specific troubleshooting can be useful, but permanent configuration should account for the devices that use the network.
How do I know when I am done?
Repeat the ordinary tasks that originally failed, in the same rooms and at the relevant times. If calls, streaming, and everyday access are reliable, you have met the practical goal. Keep a short record of the working configuration so future changes start from a known position.
Reader questions
Should I buy a new router when one room has weak Wi-Fi?
First compare that room with a location near the router and check placement. A remote-room problem may need better access-point placement or wired backhaul rather than a faster central router.
Where should a wireless mesh node go?
Place it where it has a good connection back to the network while extending coverage toward the weak area. Do not start by putting it in the deepest existing dead zone.
Should I change every router setting at once?
No. Record the baseline, change one thing, and repeat the same checks. That makes improvements and regressions easier to identify and reverse.
Sources & further reading
Product information checked September 18, 2026. Specifications and availability can change.